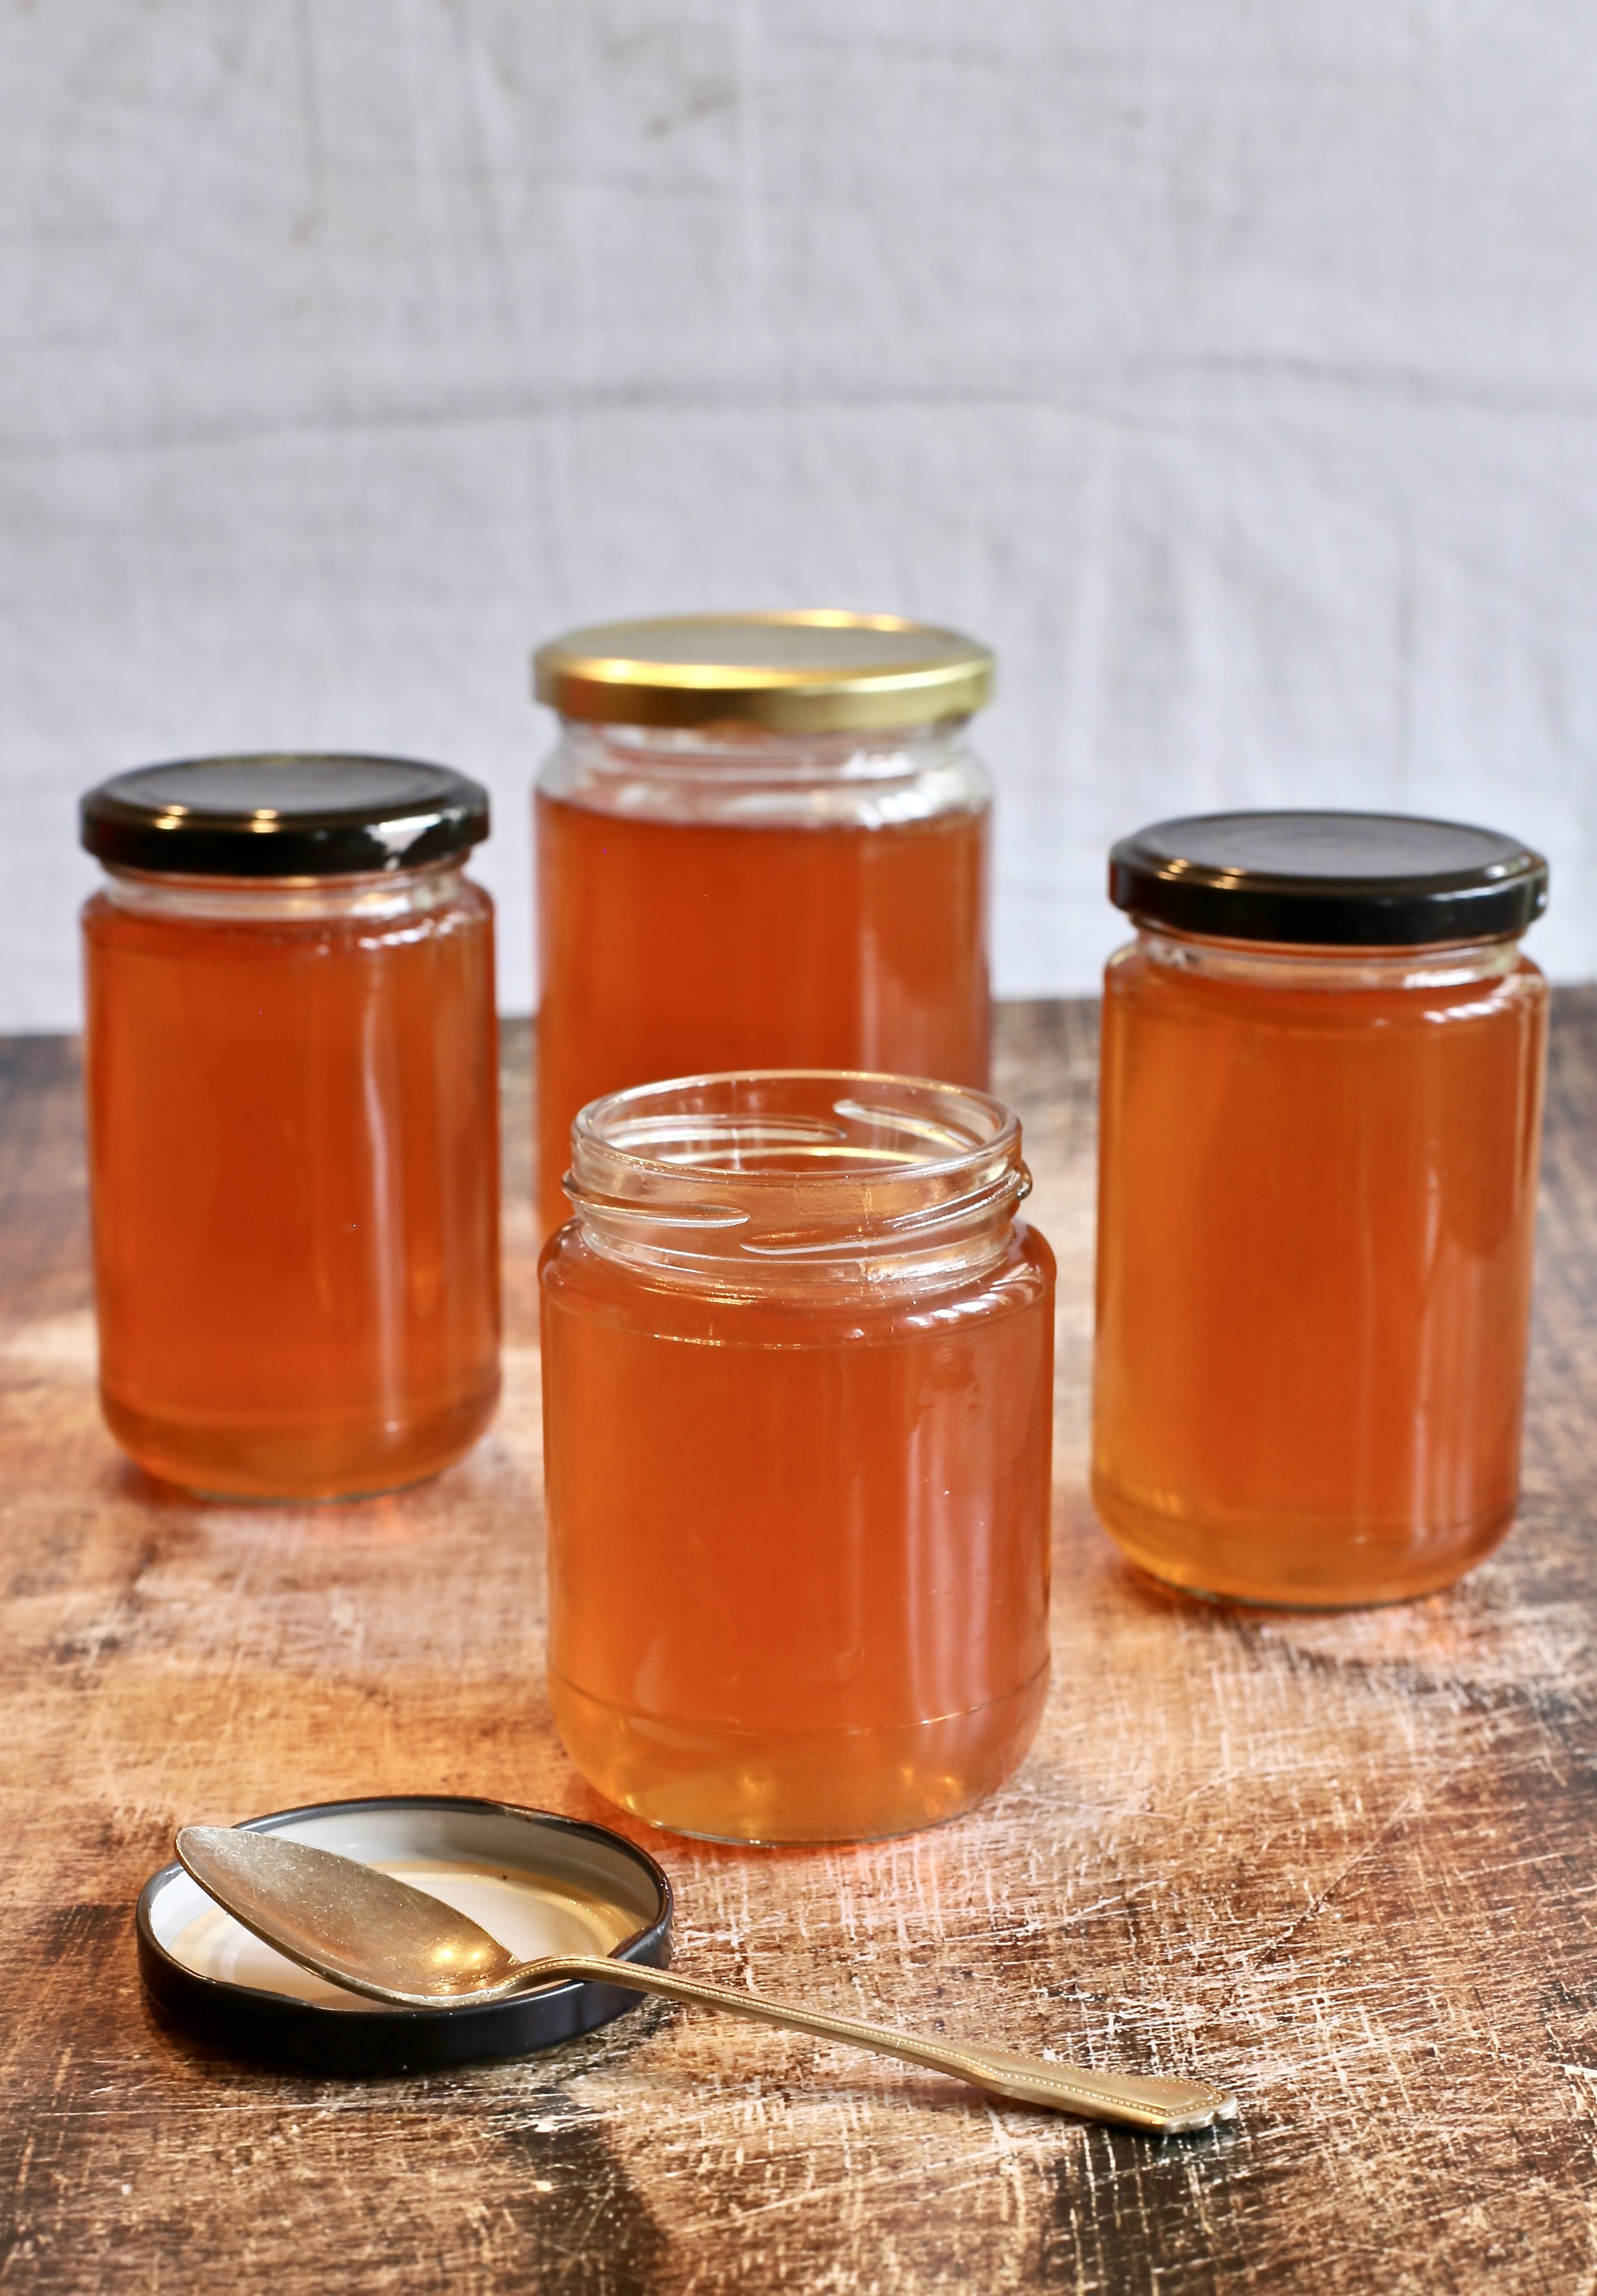
APPLE JELLY
I have a surplus of apples, all shapes and varieties. They have been generously given to me from friends' apple trees. They were not quite good enough to eat, so my mum said don’t waste them, cut around them and use them in an apple jelly. I actually had never made an apple jelly so my mum came to the rescue with her knowledge and lifelong tips to create a beautifully clear jelly. The secret is to use the skins, core and seeds as this is high in pectin and this will help it set and the other top tip is never to squeeze the bag as this will make it cloudy!
Preparation time - 30 minutes
Cooking time - 1 hour (approx) over 2 days
Skill - moderate
Makes 6 jars
Ingredients
2kg apples, cut into pieces, skin, core and seeds (remove any blemishes)
1-2 lemons, juice
White sugar - ¾ cup sugar per 1 cup of apple juice
Large piece of muslin cloth or clean cotton pillowcase
string
6 jars and lids, sterilised
Method
Place the apples into a large heavy based pot, add enough water to cover the apples. Cook over a moderate heat until the apples are very soft almost to a pulp.
Place the muslin over a colander, which is placed over a large bowl.
Carefully tip in all the apple pulp and liquid.
Pull up the muslin cloth together to form a bag of sorts, tie it tightly and hang it over your tap or something similar, so it hangs over a bowl to collect all the apple juice. You do not want the apples to sit in the juice. DO NOT SQUEEZE THE BAG!
The next day, measure out the apple juice cup for cup into a large clean pot. Bring to the boil.
Add ¾ cup of sugar per cup of juice. So 5 cups of liquid you will need ¾ cup x 5 of sugar and so on.
Stir to dissolve then bring to the boil, remove any scum that occurs on the surface and continue boiling until the jelly reduces and the bubbles get bigger.
Add enough lemon juice to add a little tartness to counteract the sweetness of the jelly.
To test if it is ready, take a spoonful out and put onto a small cold plate. Let cool and run your finger through the jelly. If the jelly stays separated then it is ready to bottle, if still runny, continue boiling and testing regularly until the jelly stays separated.
Remove from the heat and remove any scum on the surface.
Have your sterilised jars ready and carefully pour in the hot jelly until just under the rim of the jar. With a clean cloth wipe any spills and seal tightly with the lid, ensure the lid is on tightly.
The jelly will set on cooling and it will take on the tint of the apple skins.
Enjoy on toast, alongside some great cheese or serve as an accompaniment with your next meal.